はじめに
今回はBubbleを使って作成したページとChatGPTを連携し、適当な質問を送信すればChatGPTのAIに答えてもらえるアプリを作ります。
以下のツールを使用します。
- Bubble
- ChatGPT
※2024年1月26日時点の情報です。
Bubbleは無料版で問題ありませんが、ChatGPTは有料化済かつBilling settingsのCredit balanceに残高が必要です。(https://platform.openai.com/account/billing/overview)
手順
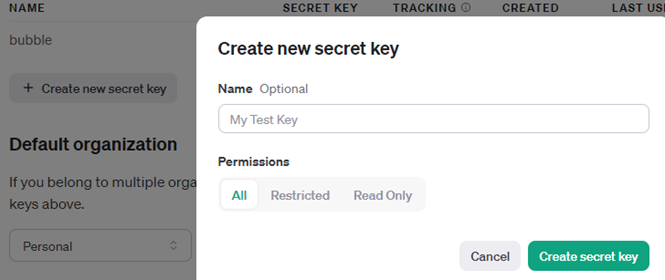
1.API keysでAPIキーを作成
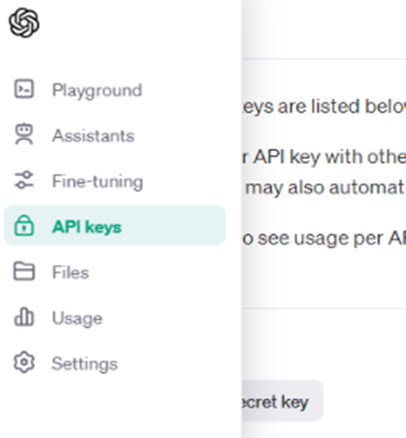
+ Create new secret key からAPIキーを作成し、作成されたSECRET KEYを控えておきます。
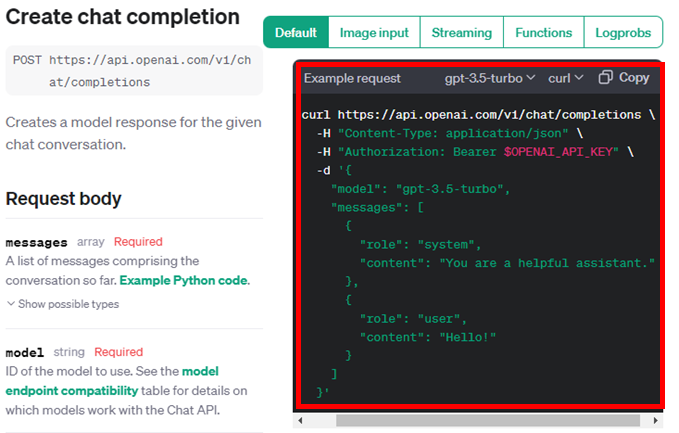
2.API referenceで値を確認
今回はCreate chat completion でgpt-3.5-turboを使用します。
(https://platform.openai.com/docs/api-reference/chat)
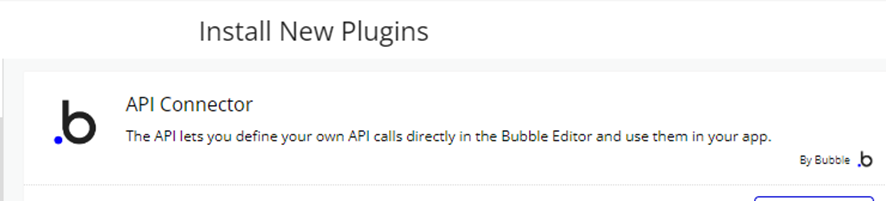
3.BubbleのAPI設定
Add pluginsでAPI Connectorをインストールします。
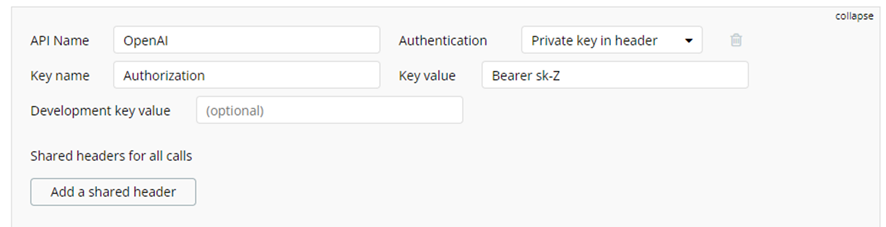
API Nameに名前を入力し、AuthenticationをPrivate key in headerに設定します。
Key valueには先頭にBearer をつけて1で控えていたSECRET KEYを入力します。(2の画像3行目の部分です。)
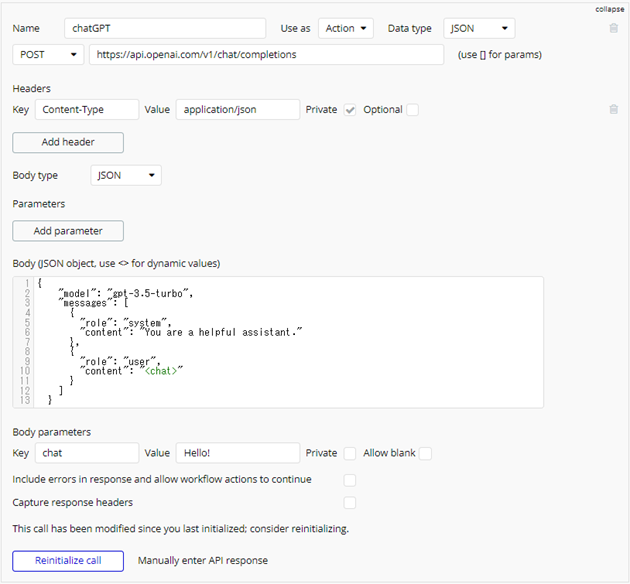
Nameも入力し「expand」をクリックします。
POSTに変更しhttps://api.openai.com/v1/chat/completionsを入力します。(2の画像1行目の部分です。)
「Add header」をクリックし、KeyにContent-Type 、Valueに application/jsonを入力します。(2の画像2行目の部分です。)
Bodyに以下を入力します。(2の画像4~16行目の部分です。)
{
    "model": "gpt-3.5-turbo",
    "messages": [
      {
        "role": "system",
        "content": "You are a helpful assistant."
      },
      {
        "role": "user",
        "content": "<chat>"
      }
    ]
  }
※”content”部分をに置き換えています。
Keyが表示されるのでValueに Hello!を入力し、Privateのチェックを外します。
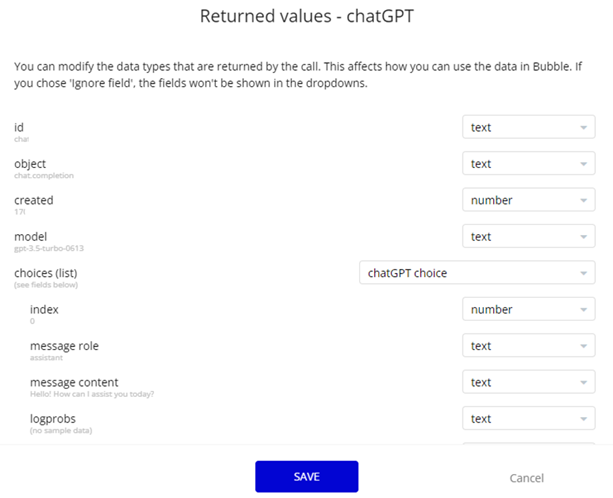
「Reinitialize call」をクリックし、データが取得出来れば接続完了です。
「SAVE」をクリックします。
4.Bubbleの出力画面設定
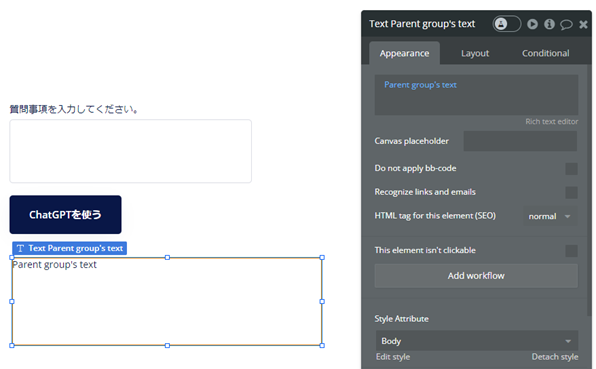
Input(またはMultiline Input)で質問事項を入力するボックスを作成します。
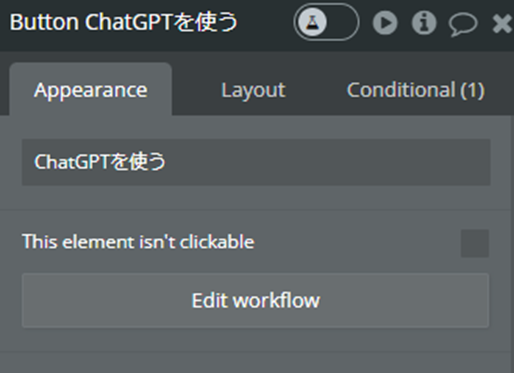
ChatGPTを実行するためのボタンを作成します。
Groupを作成し、その中に結果を表示するTextを作成します。TextにはInsert dynamic dataからParent group’s textを設定します。
次に実行ボタンの設定をします。
Appearanceから「Edit workflow」をクリックします。
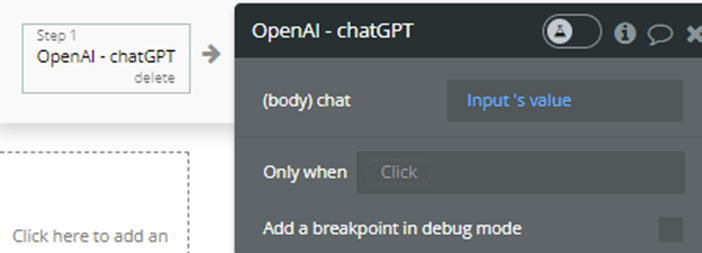
Step1でPluginsから3で作成したAPIのNameを選択します。
(body)にInsert dynamic dataから質問事項を入力するボックスを選択します。(Input’s value)
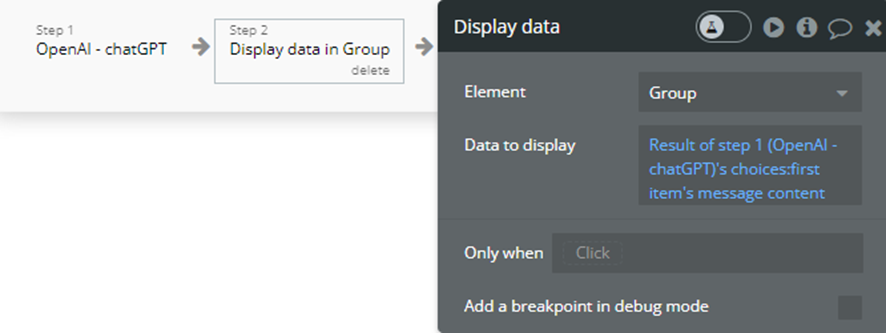
Step2でDisplay data in a group/popupを選択し、Elementに先ほど作成したGroupを選択します。
Data to displayにはResult of step 1(作成したAPI Name)’s choices :first item ‘s message contentを設定します。
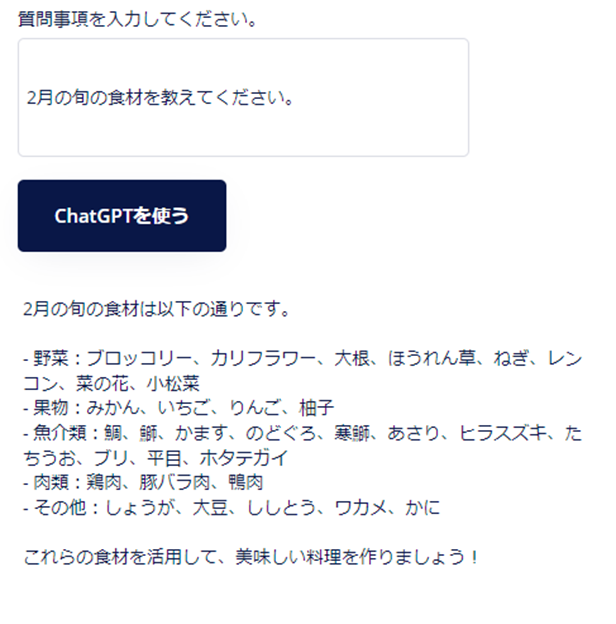
5.出力を確認
Designに戻り、Previewから動作を確認します。
4で作成した結果を表示するTextに質問の結果が表示されたら成功です。
出力結果をデータベースに保存したい場合はWorkflowのstep3にDataのCreate a new thingを選択し、保存先のTypeを選択し、fieldに出力したText’s valueを設定してください。
さいごに
手軽にChatGPTを実装する方法でした。
結果をページ上に出さないことも可能なのでアイディア次第では様々な使い方ができると思います。